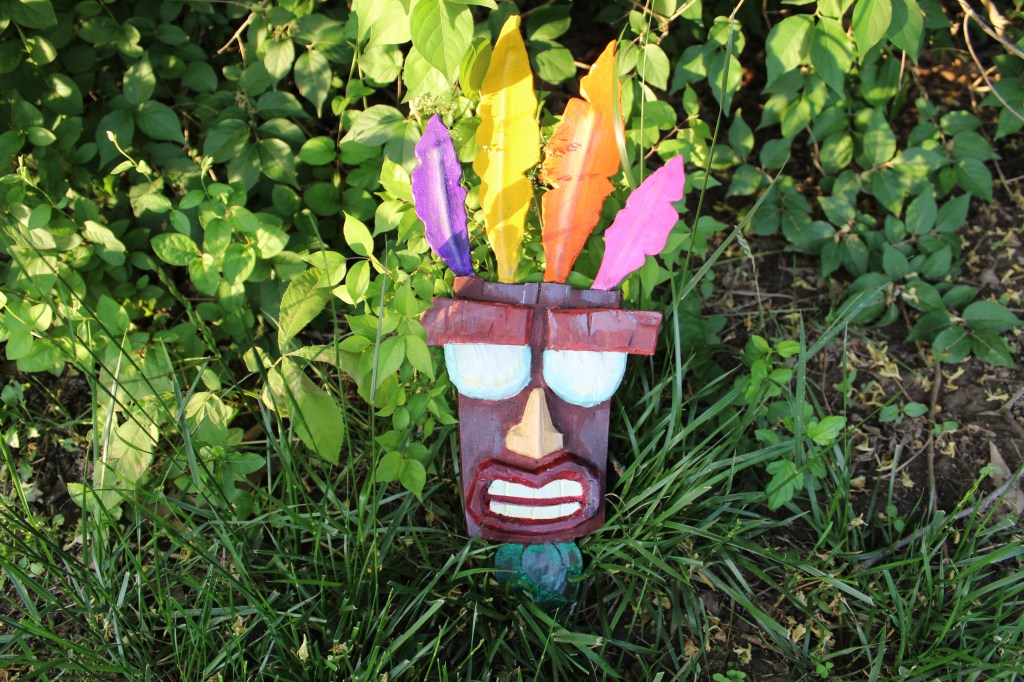
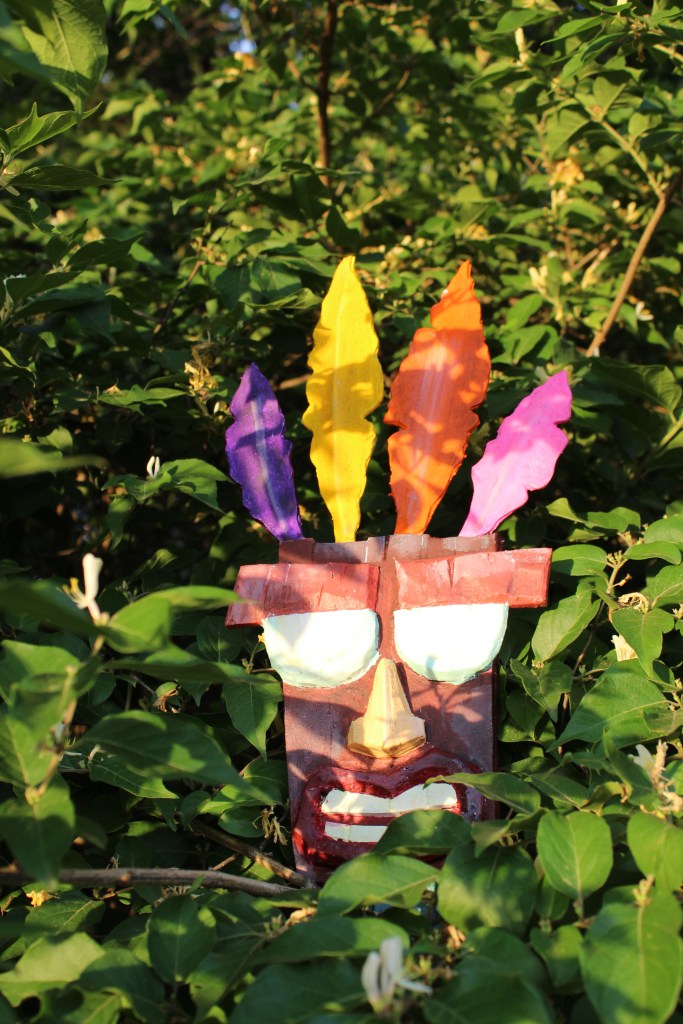
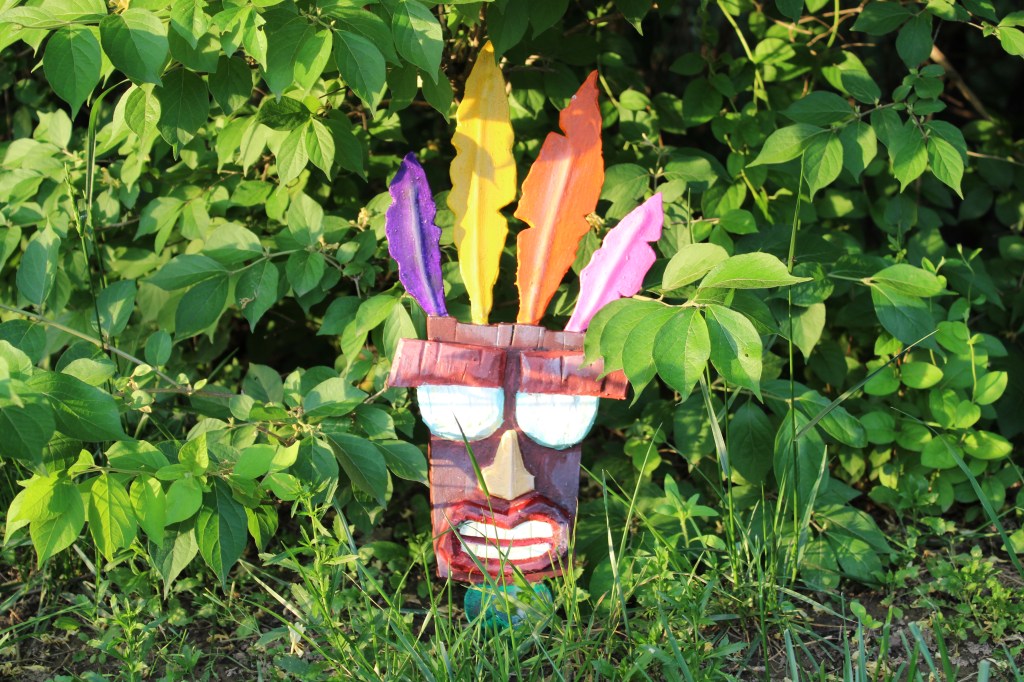
Crash Bandicoot was an iconic game series brought to life by Naughty Dog in the 90s. One of my favorite parts of the game was the you hit the right box and this mask would follow you around and protect you from harm. Today we are going to make this mask and I will show you how I did it.
Material List
- 2mm, 6mm and 10mm thick foam
- contact cement and superglue
- box cutter
- Marker or Ink Pen
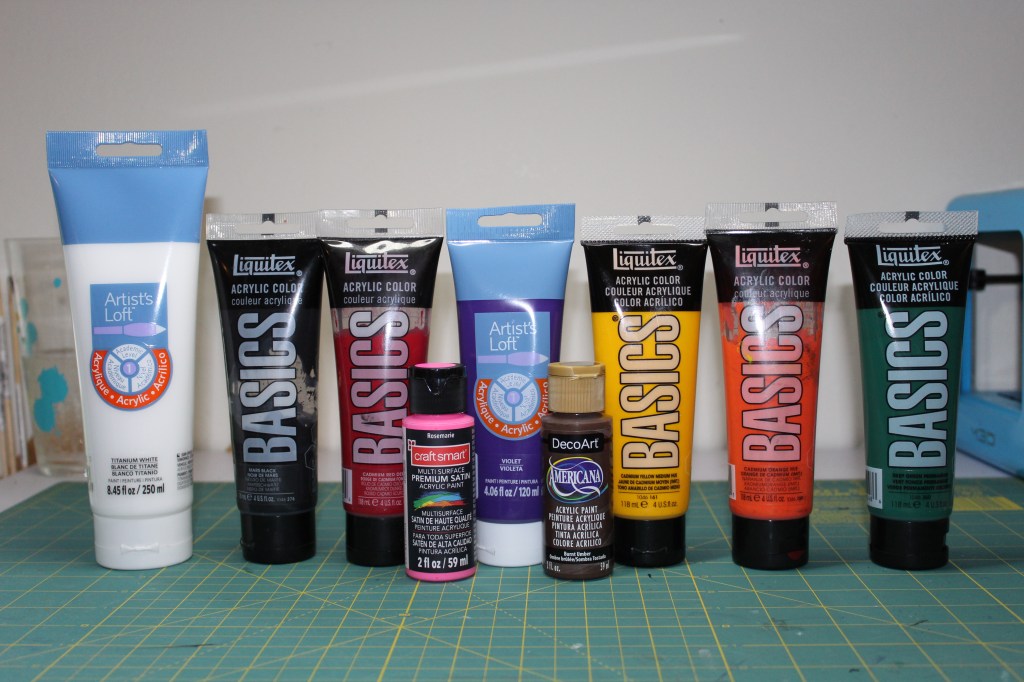
- paint – burn umber, green, purple, yellow, orange, pink, red, white , black
- creature cast
- 12 gauge wire for foam feathers
- pattern
- heat gun
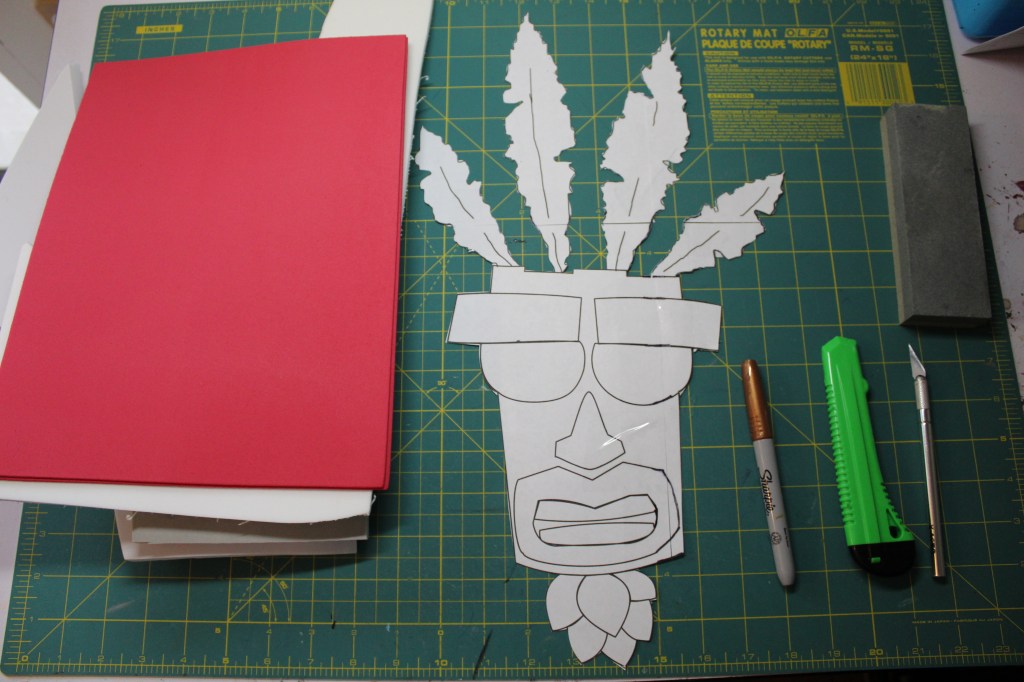
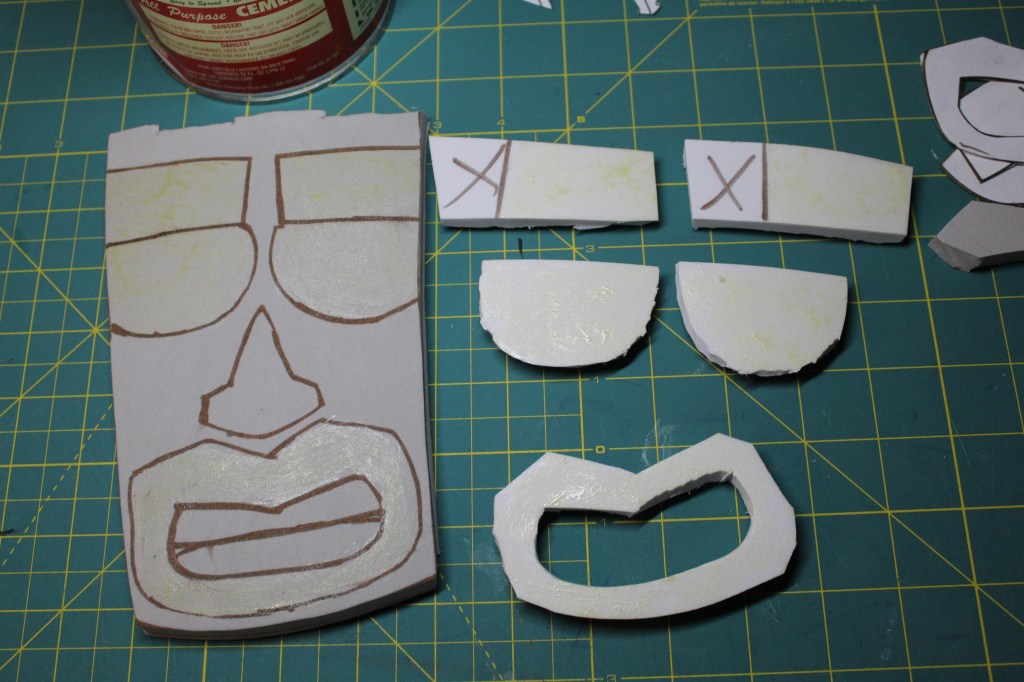
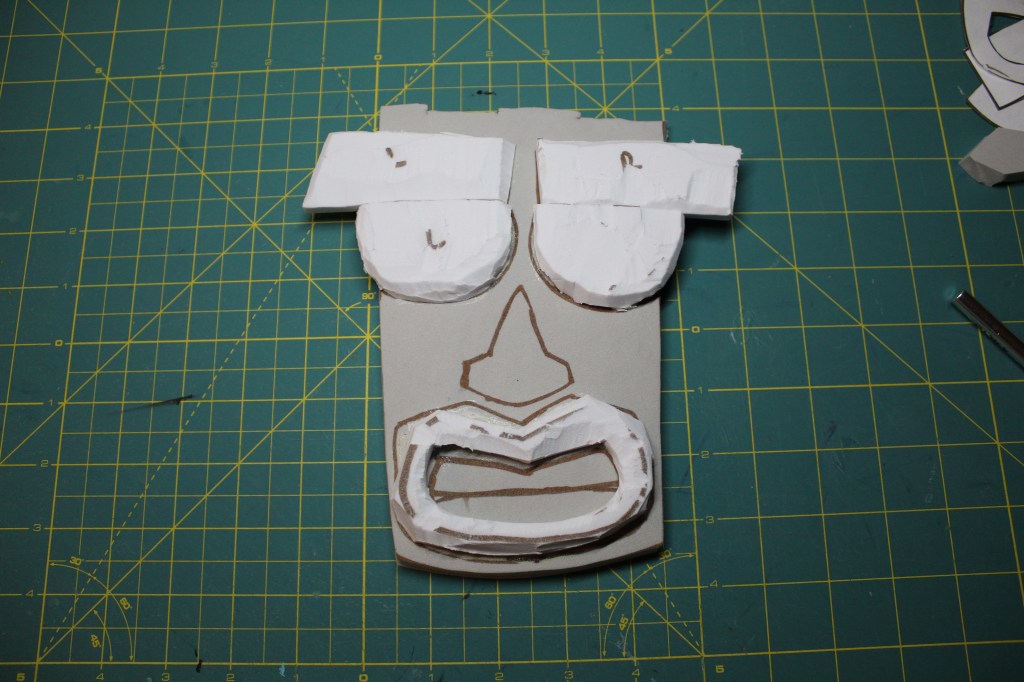
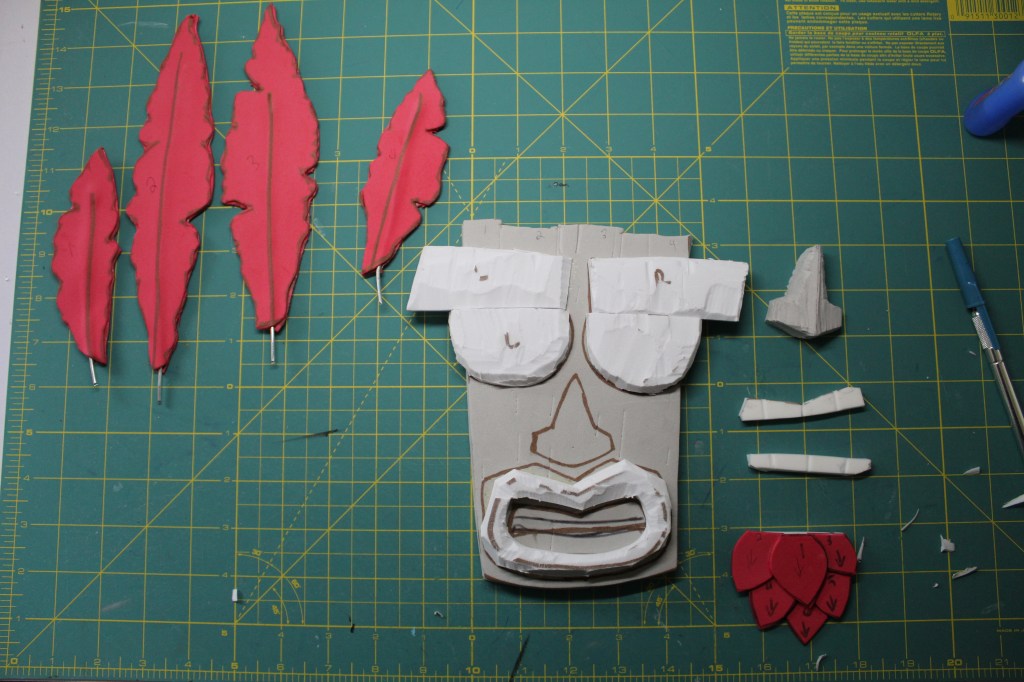
Cut out paper pattern in smaller sections and trace onto your 10mm foam. be sure to the areas where we will place the eyes, eyebrows, nose, and mouth onto the base.
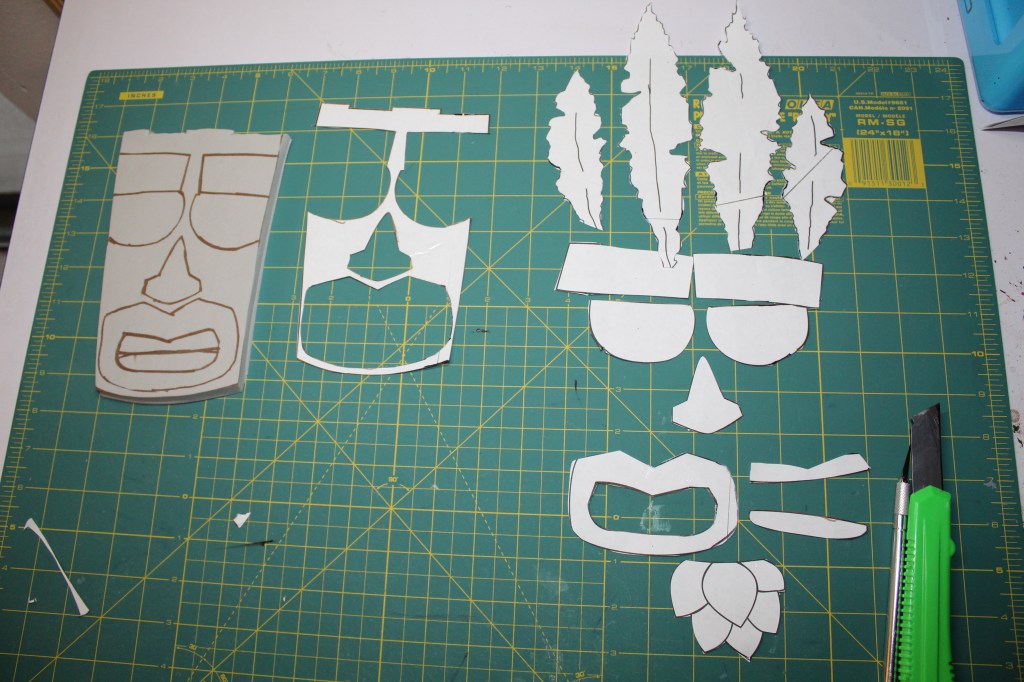
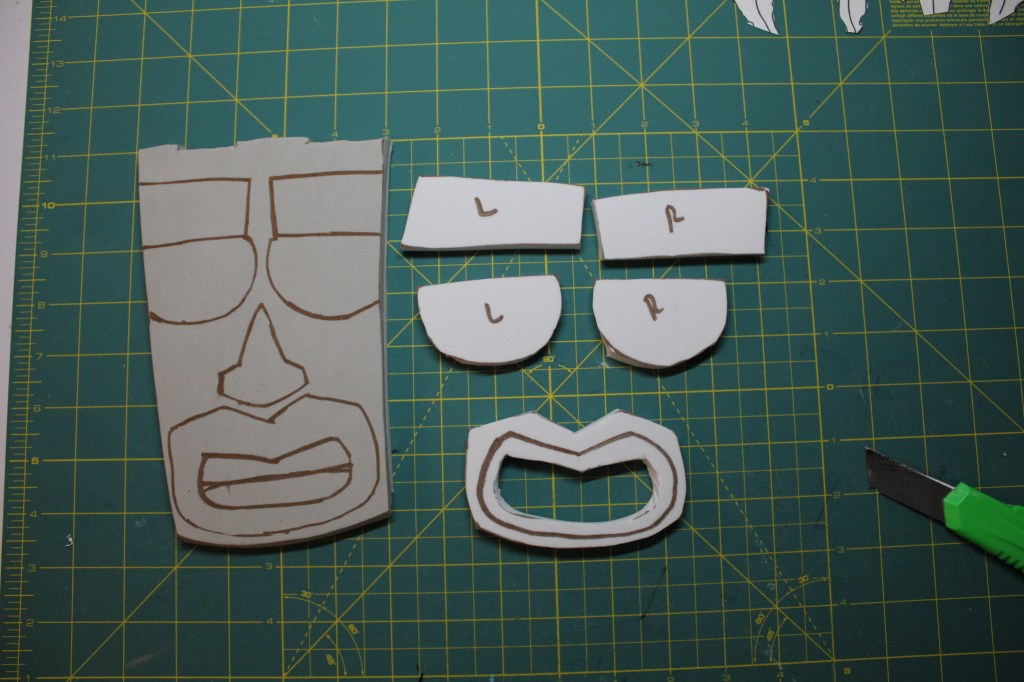
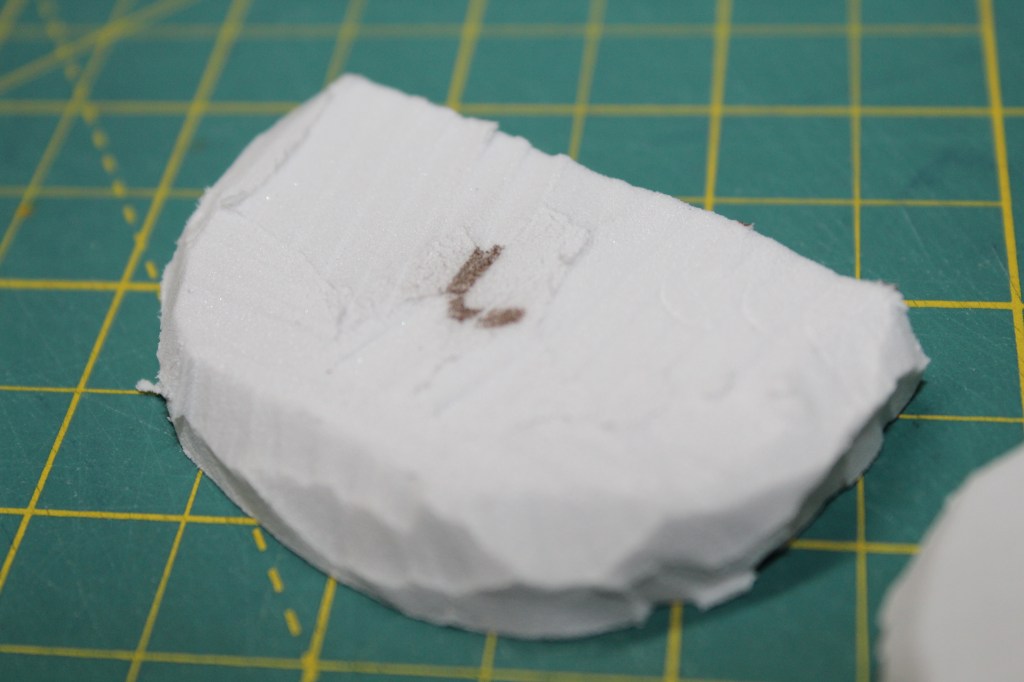
Trace out the patters for the eyes, eyebrows, and mouth on 10mm foam.
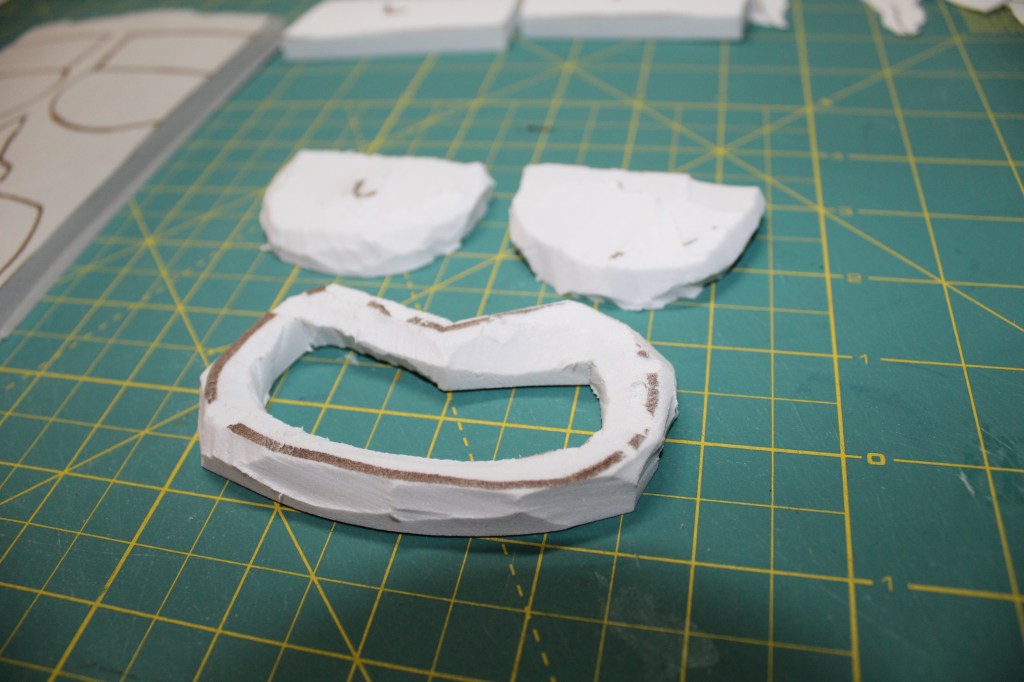
To get the carved look cut out chunks of foam using a very sharp box cutter. To this until you get the look and texture you want.

Next coat your base and the eyes, eyebrows, and mouth with 2 layers of contact cement. Wait about 5 minutes for the cement to dry before placing these on the base.

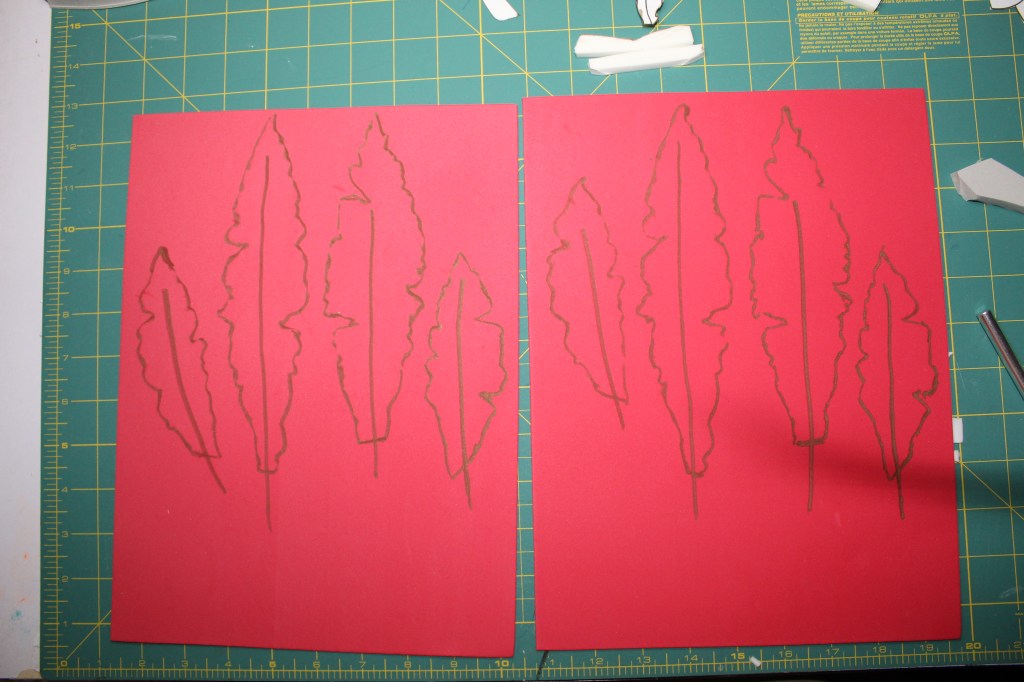
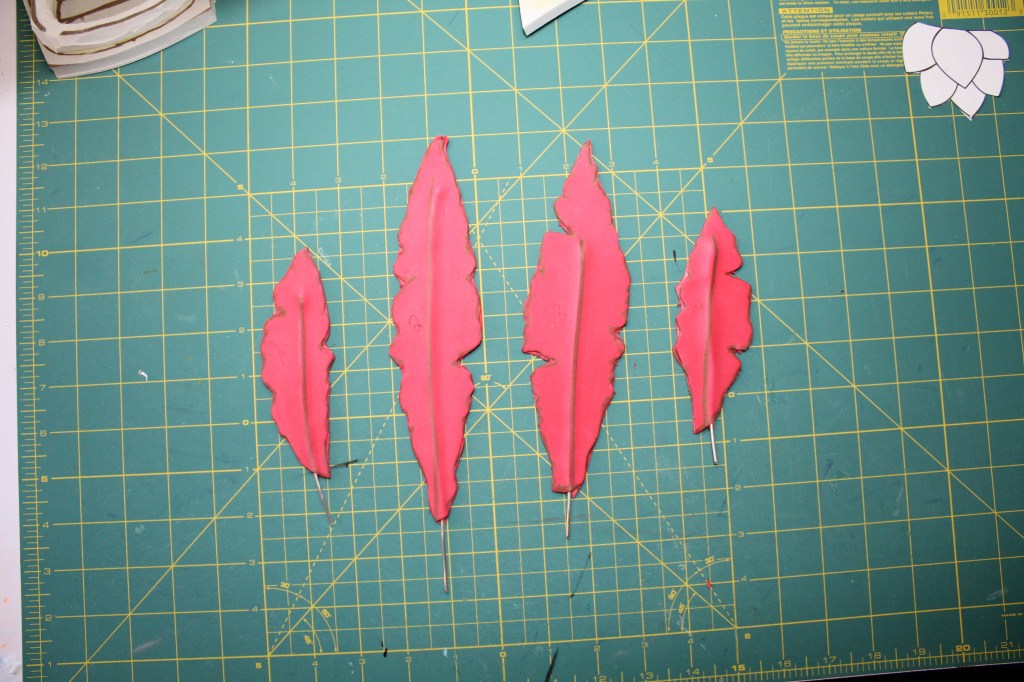
Next up I wanted to do was the feathers. I traced the feathers on to 2 sheets of 2mm foam. I also traced where I wanted to place the wire. I cut out one sheets of feathers and on the other sheet I got my wire shapes and length. I secured them down with super glue. When the super glue was dry I covered that side of the feathers with contact cement and the back side of the other set of feathers with contact cement. Wait 5 minutes before you sandwich them together. I let the contact cement dry for about 30 minutes before I cut our the rest of the feathers. I did leave about an inch of wire hang out of the base of the feather. We will use that to poke a hole into the mask base to attach the feathers.


Next what the leaf beard. I separated the pattern and transferred it onto 2mm foam. I did draw and arrow on each leaf to show what direction it should be when I glued it all together.
After it was glued I added a strip of 6mm foam for stability and for easier attachment to the base.


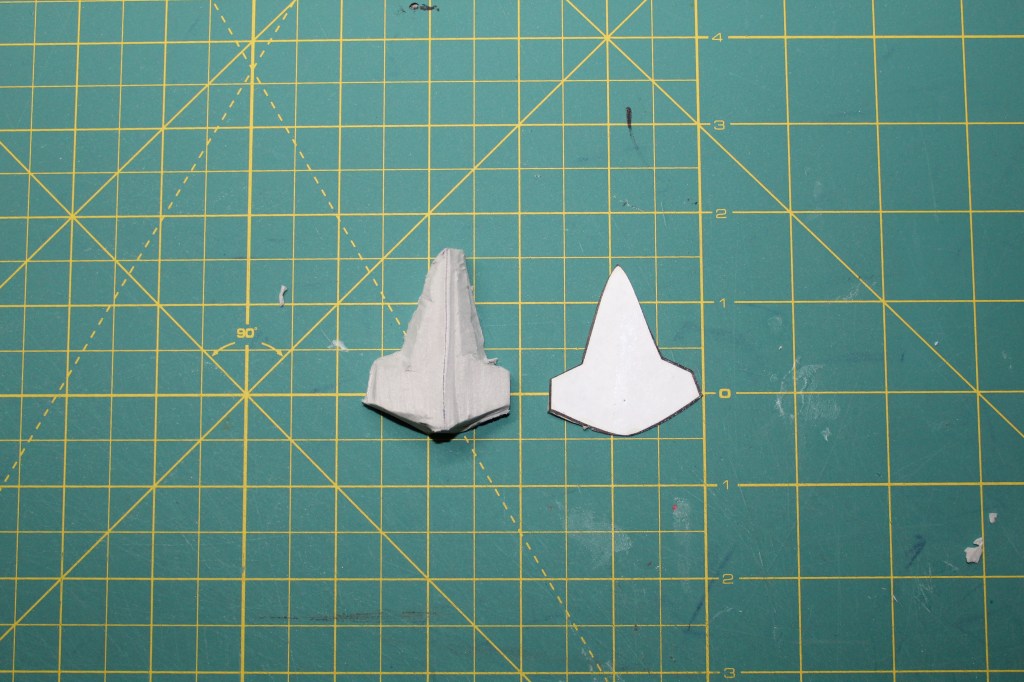
Last to do was the nose and the teeth. The teeth I traced and cut out of 6mm foam. I also traced the area on the base where it should be placed.
The nose was the hardest part of this build. I stacked 2 10mm foam pieces on top of each other and carved out the shape I wanted. I made 3 different versions before I got one I liked.
Attach all these parts to the base using super glue.
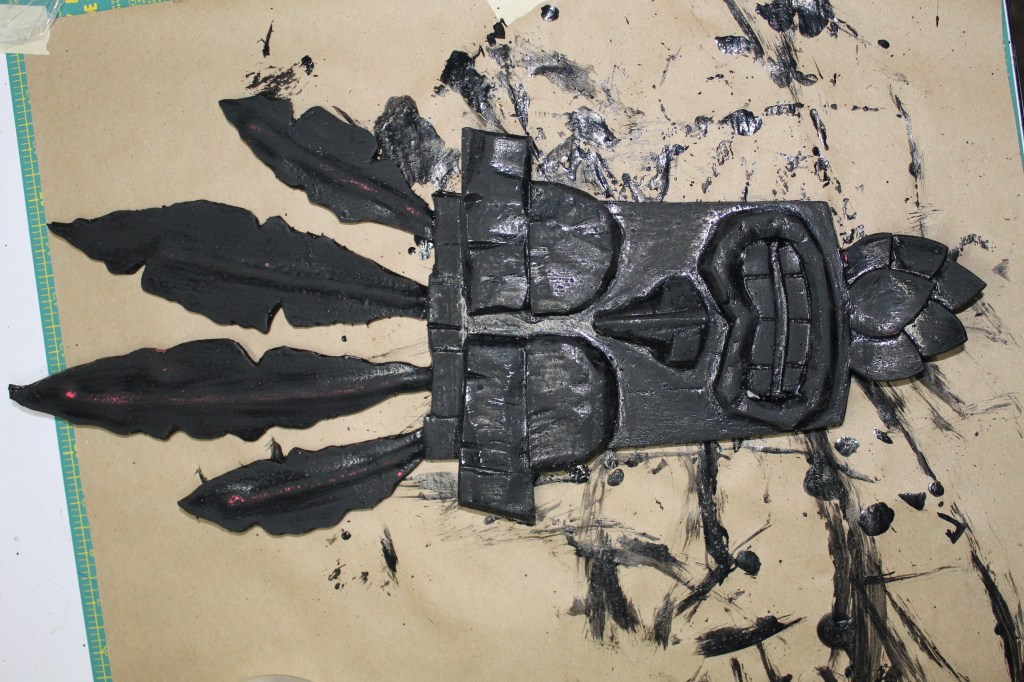
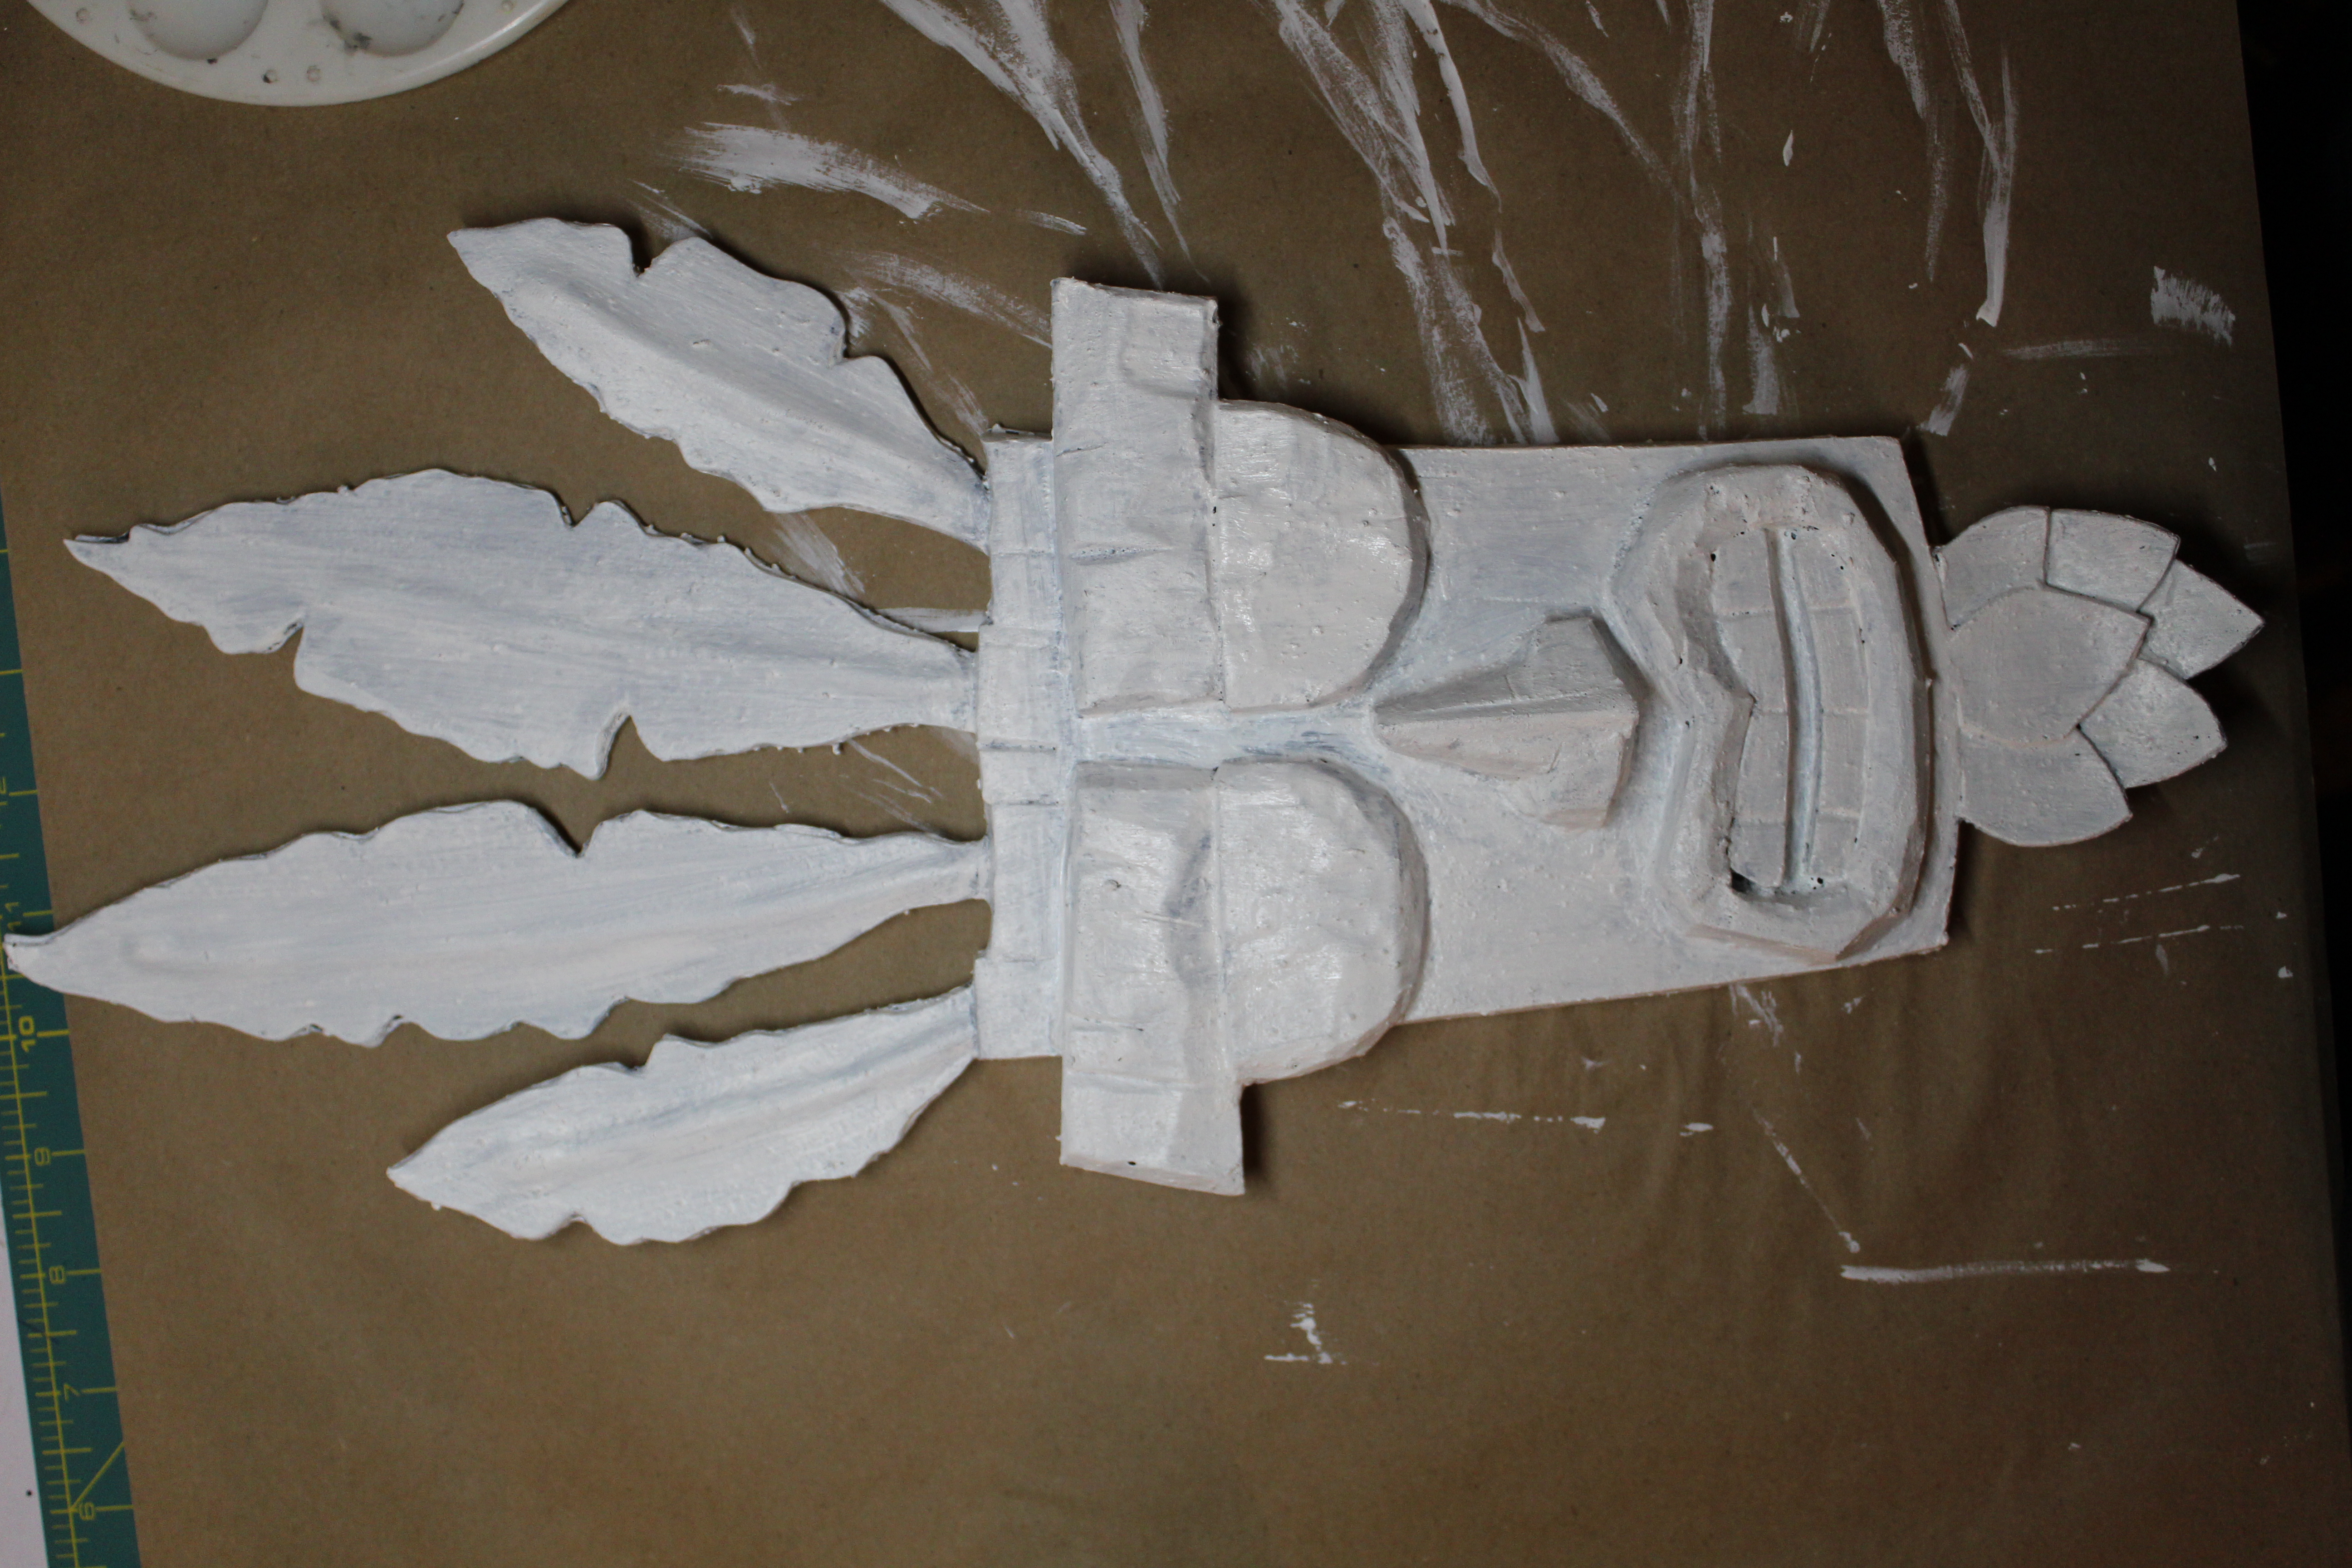
Use your heat gun to heat seal the foam for you put your sealer on. When I did this it opened up some gaps between the eyes and the eye brows. Super glue was able to reconnect these parts back together.

I applied 3 coats of Creature Cast to the mask. You are able to sand down Creature Cast after it drys. If you want a super smooth surface the apply more layers. I used 220 grit to knock down some of the brush strokes but I did want to keep some of that texture for the paint surface.
I did add 2 layers of white paint. When you use lighter colors such as yellow, orange and pink, black will show through and it will require many layers of your color paint to get a bright color. Applying the while will help the colors shine a little brighter with out using a bunch of layers. After that I put on 2 coats of each color I wanted.
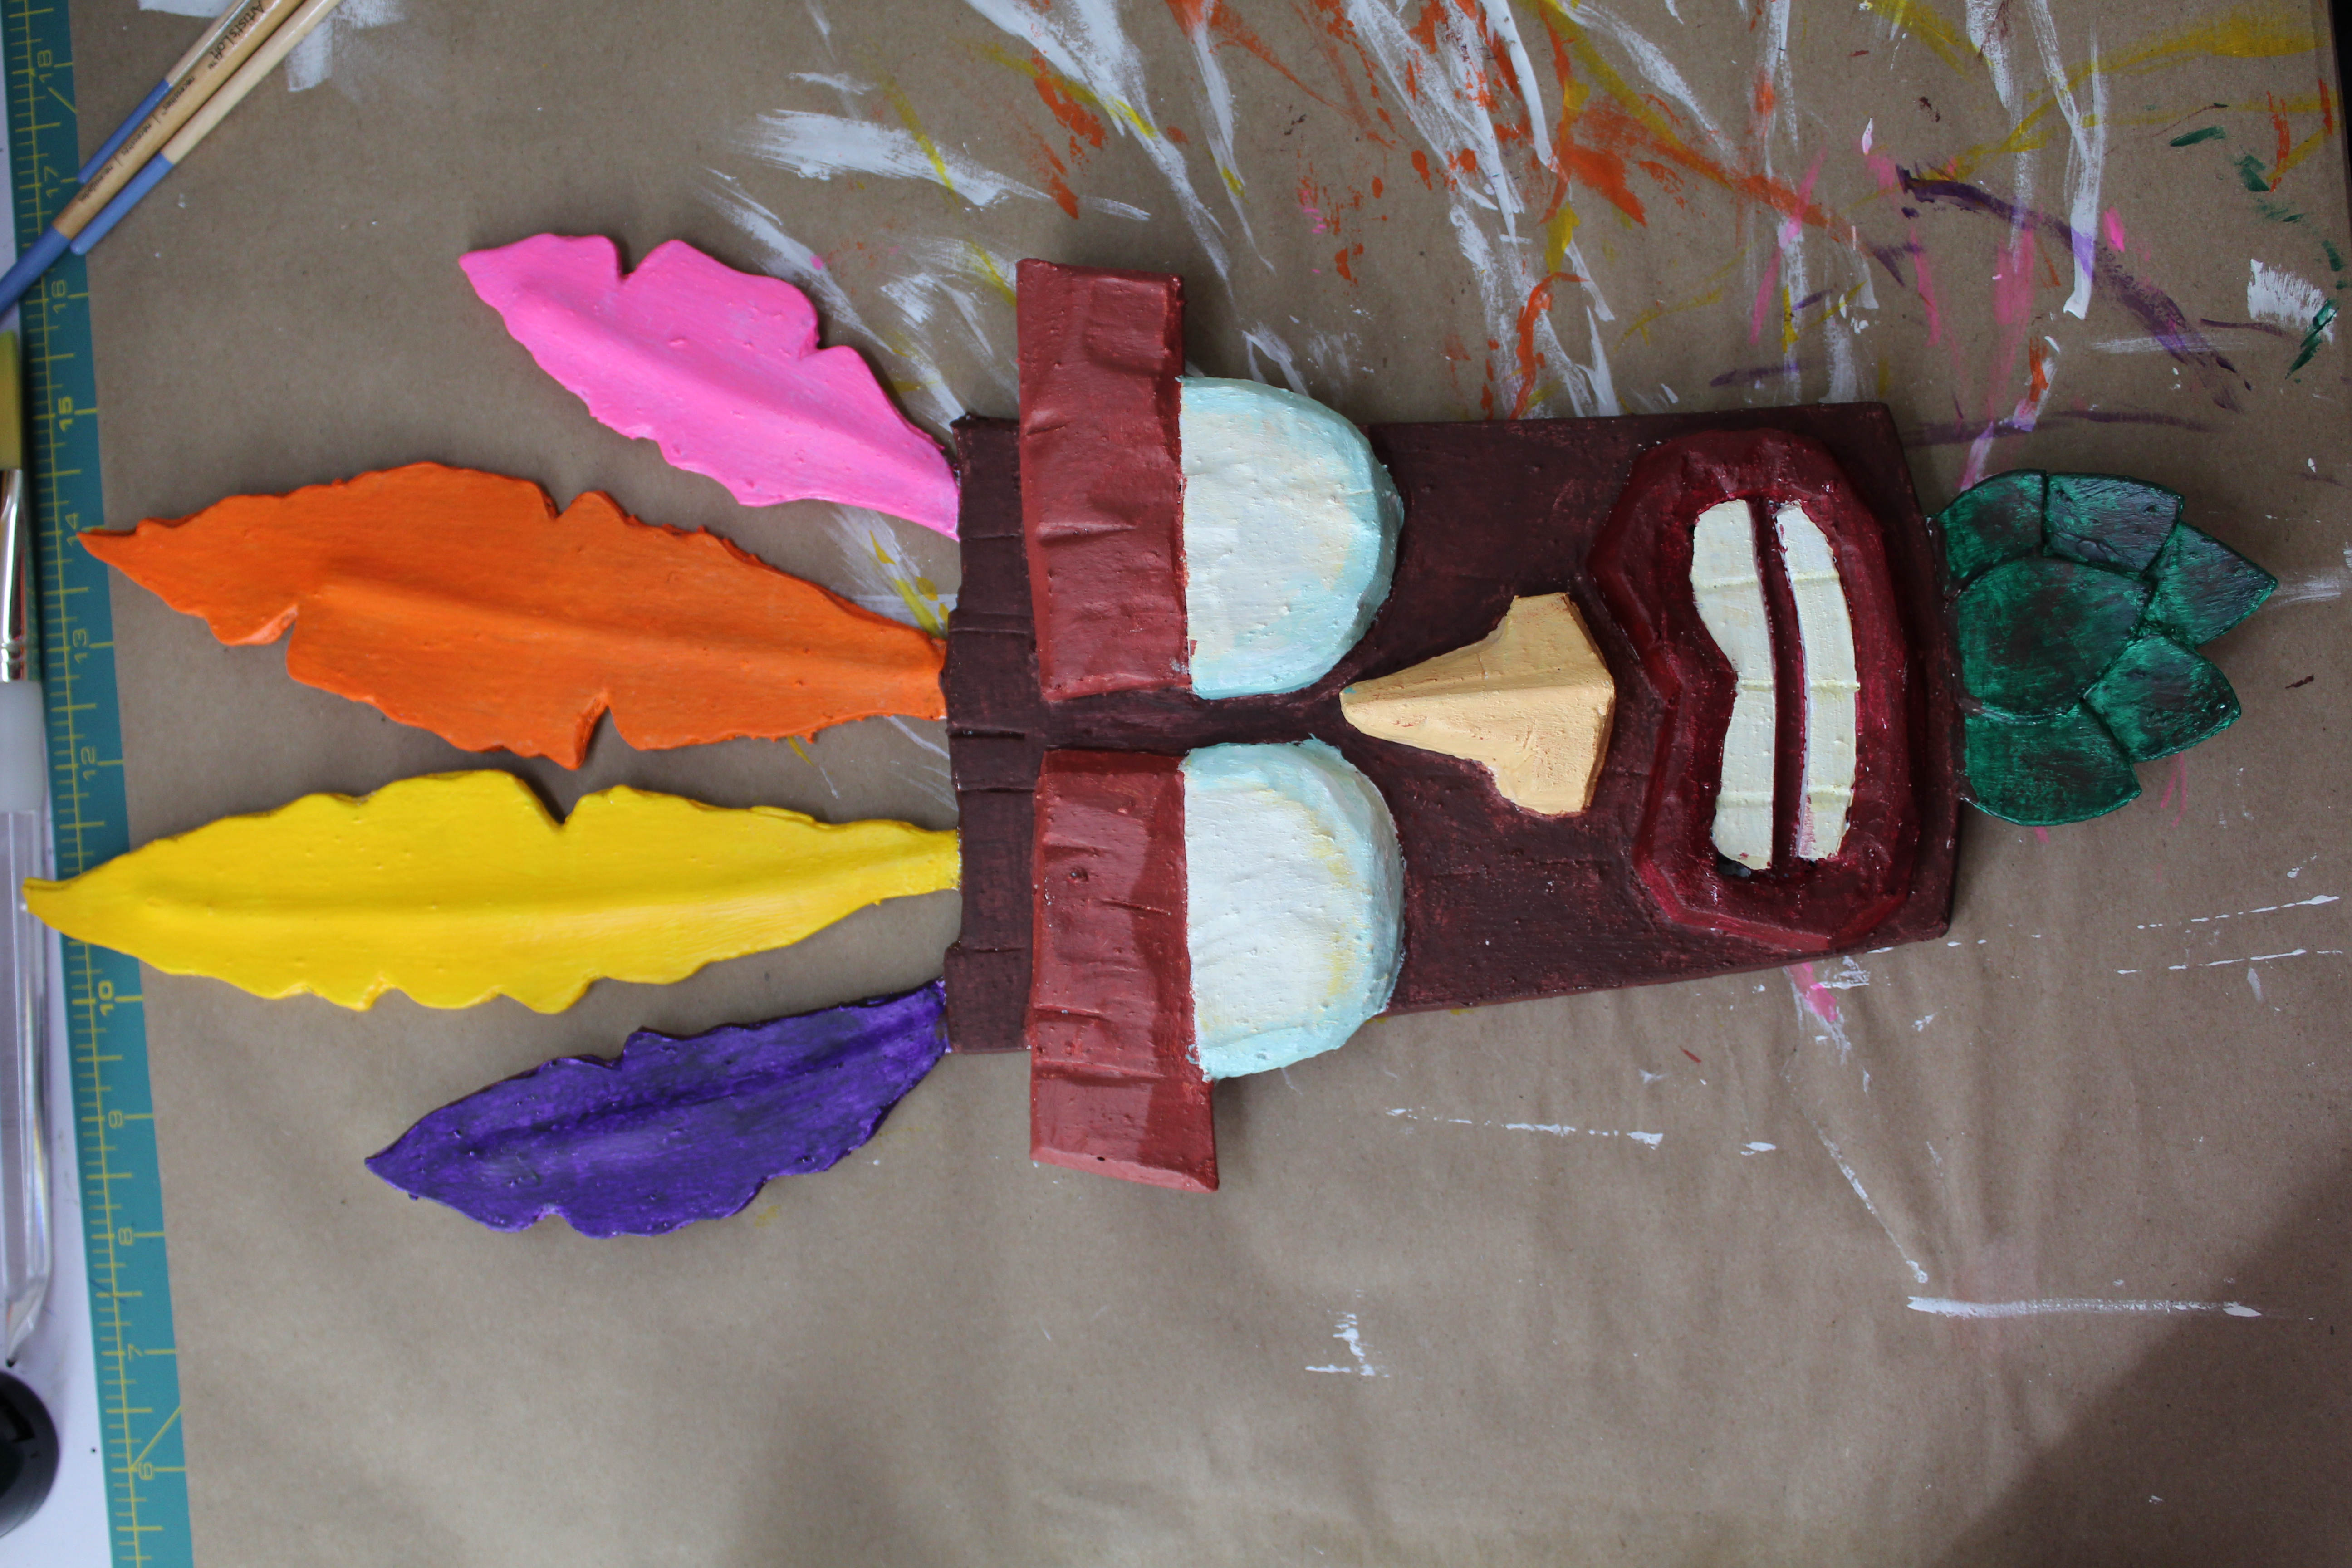

Last thing I did was apply some dark brown wash and then a layer of white wash for some shadows and highlights. I then called this mask done.